Taking A Garage Door Down To Replace With Hinge Door

Double Door Garage Conversion Replace An Overhead Door With Pre Hung Double Panels Double Garage Door Garage Door Design Garage Doors

Garage Side Door Fire With Windows Down Seal Replacement Hinged Garage Door Installation Garage Door Panels Garage Doors Prices

Garage Swing Doors Install Easily With Heavy Duty Hinges Barn Door Garage Barn Door Hinges Patio Door Installation

How To Make A Plain Garage Door Look Like A Carriage Style Garage Door Carriage Style Garage Doors Garage Doors Garage Door Makeover

Garage Door With Pedestrian Entrance 2 3 1 3 Split Garage Door Would Love To Know There Are Any S Garage Doors Carriage House Doors Side Hinged Garage Doors

Pin By Debbie Crumpler On For The Home Garage Door Decorative Hardware Garage Door Decor Garage Doors

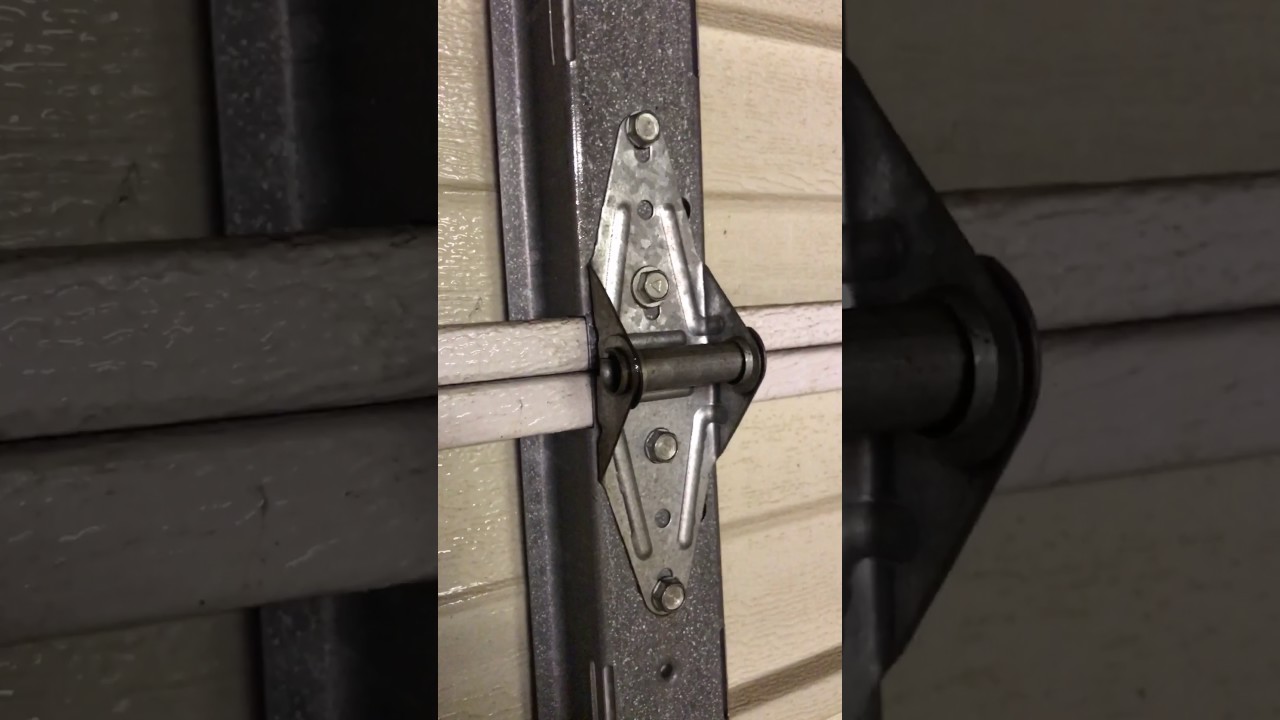
Hardware is available in standard and heavy duty galvanized steel or rust resistant stainless steel for extra long life in tough conditions.
Taking a garage door down to replace with hinge door.

Farmhouse Wood Garage Doors By Ziegler Doors Inc In 2020 Garage Door Styles Garage Door Design Modern Garage Doors

Garage Doors Chi Overhead Doors Garage Door Styles Garage Doors Vinyl Garage Doors

Barn Style Garage Doors Red Modern Garage Design Barn Style Garage Doors Red Garage Door Garage Doors
Replacing Garage Door Hinges Youtube
Source : pinterest.com
